How to put up pictures on blog
23 May 2017Writing blog posts is fun, but pure text can be boring. Sometimes, a picture is worth a thousand words. Today, I’ll explain how to add images to my blog.
Update: I discovered a clever way to upload images. My initial method broke HTTPS encryption—a warning appeared saying the site is not secure, meaning attackers might see and modify the images.
To resolve this, I found another method: create an issue in any GitHub repository, drag and drop your image into the issue, and wait for it to upload. Once complete, GitHub provides you with a secure link to the image.
You can then embed the image in Markdown. For example, if you have an image named huis-ten-bosch.png in your /assets directory, use:
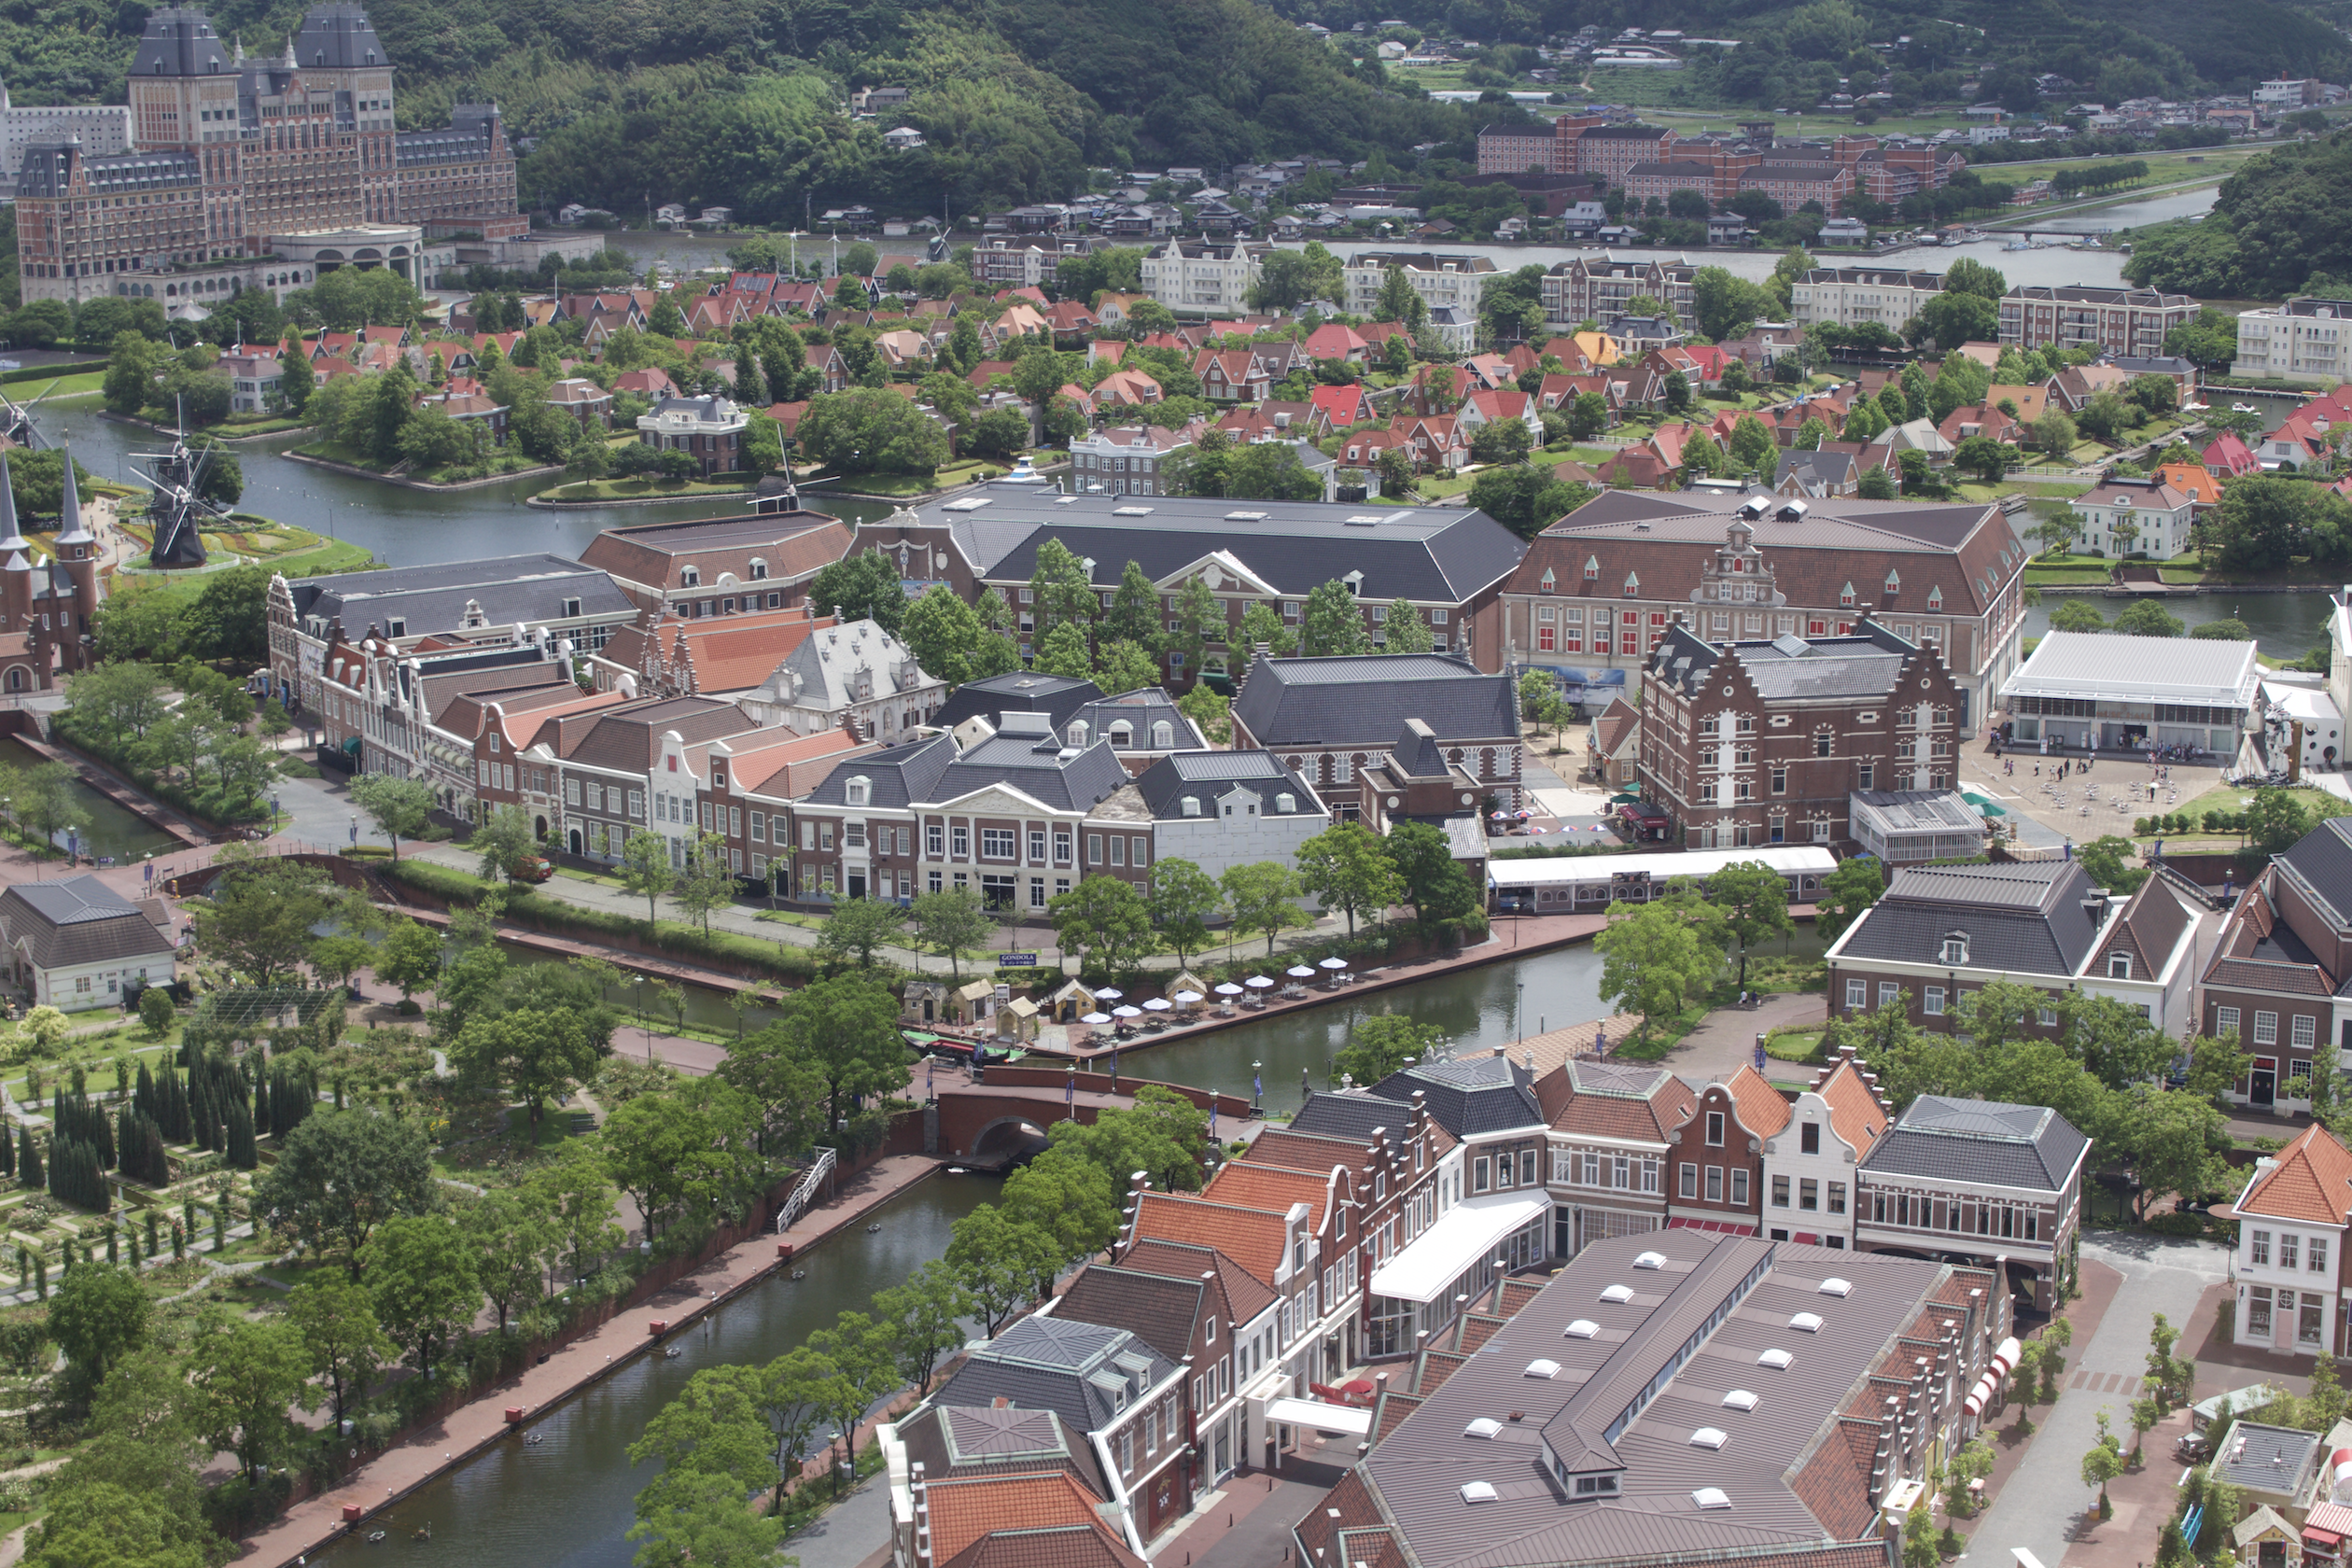
Let’s try it with a picture from last summer at Huis Ten Bosch:

Vola! Success.
I found a guide here which includes instructions on how to host pictures on the blog.
There is two steps to putting up images on the site.
- First, I need to know how to put up the image on the blog. This can be accomplished easily with using Markdown (which we use to write our blog).
- Second, I need a location to put the image at. In other words, I need to host the image somewhere on the internet.
Show images using Markdown
Here’s a cheatsheet I found online that tells you how to put images up with markdown.
Host images on github
There are many ways to upload images on the internet. A simple google search will show image hosting sites avaliable for free. But why rely on those when we can do it ourselves. I have a minimalist mindset. If I can find a way to do it myself, then that will be the priority.
Since this blog is hosted on github itself, I can create a folder within that repository hosted by github and thus have a directory on the internet where I can host things.
First create a directory that will store the images that I will host.
I will call this directory /assets
Go to the directory of the blog, and type mkdir assets.
Now, stuff in the /assets can be accessed on the internet with the link.
For example if I have an image called huis-ten-bosch.png, then I can access it with the link https://jeffreywu1996.github.io/assets/huis-ten-bosch.png
Now, using this link with markdown, we should be able to finally put the image on the internet.
Let’s try it. This is a picture of me last summer at Huis Ten Bosch. Let’s see if it shows up.
Vola! Success.